
Security Is Productivity
A compromised Mac means lost time: recovering accounts, cleaning malware, restoring from backups, or worse—dealing with stolen identity or financial loss. Good security prevents these disruptions.
The good news: macOS includes robust security features that work silently in the background. You just need to enable and configure them properly.
This guide covers essential security and privacy settings every Mac user should implement—without making your Mac inconvenient to use.
Built-in Security Features
macOS includes multiple layers of protection:
| Feature | Purpose |
|---|---|
| Gatekeeper | Blocks untrusted software |
| XProtect | Built-in anti-malware (automatic) |
| FileVault | Encrypts your entire disk |
| Firewall | Blocks unauthorized network access |
| System Integrity Protection | Prevents system file modification |
| Sandboxing | Isolates apps from each other |
Most of these run automatically. You configure a few key ones.
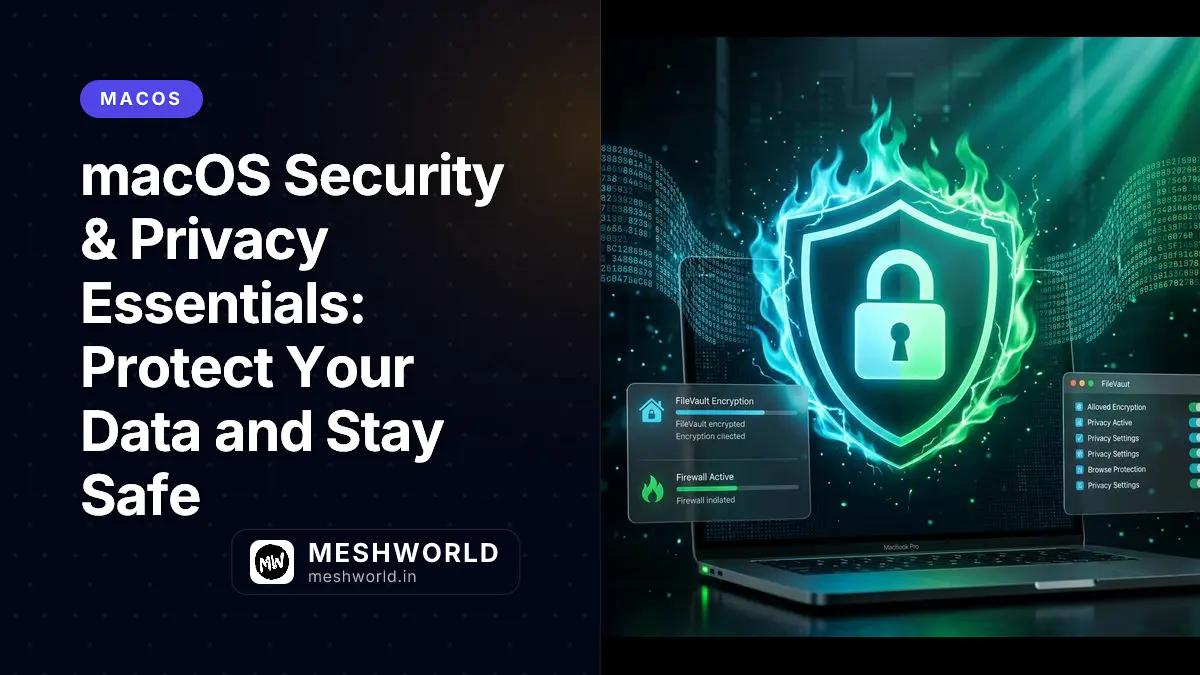
FileVault: Disk Encryption
FileVault encrypts your entire startup disk. If your Mac is lost or stolen, your data remains unreadable without your password.
Should You Enable FileVault?
Yes, if:
- You use a laptop (portable, easily lost/stolen)
- You store sensitive data (financial, personal, work)
- You work in public places
Maybe skip if:
- Desktop Mac in secure home office
- You have backups and don’t store sensitive data
- Performance is critical (FileVault has minimal impact on modern Macs)
Enabling FileVault
- System Settings > Privacy & Security > FileVault
- Click Turn On
- Choose recovery method:
- iCloud account (recommended) — recovery key stored with Apple
- Create recovery key — write down and store safely
- Click Continue
- Encryption begins (can take hours; Mac usable during process)
What FileVault Does
- Encrypts all data on startup disk
- Requires password to boot Mac
- Transparent once logged in
- Minimal performance impact on SSDs
- Works seamlessly with Time Machine
If you forget your password AND lose the recovery key, your data is permanently inaccessible. Store recovery key in a secure, separate location (password manager, safe deposit box).
FileVault and Sleep
With FileVault enabled:
- Mac requires password on wake from sleep (configurable)
- Consider shorter screen lock delay
- System Settings > Lock Screen > Require password after screen saver begins or display is turned off
Firewall: Network Protection
The firewall blocks unauthorized incoming network connections.
Enabling Firewall
- System Settings > Network > Firewall
- Toggle Firewall to ON
- Click Options for advanced settings:
- Block all incoming connections — Maximum security (may break some apps)
- Automatically allow signed software — Allow trusted apps
- Enable stealth mode — Mac won’t respond to ping requests
When Firewall Matters
Essential:
- Using public Wi-Fi regularly
- Remote access enabled (Screen Sharing, SSH)
- Running servers or shared services
Less Critical:
- Home network with trusted devices only
- No shared services enabled
- Already behind router firewall
Managing App Exceptions
Some apps need incoming connections:
- Firewall Options
- + button to add allowed apps
- Or: When app first requests connection, approve in dialog
Common exceptions:
- Video conferencing (Zoom, Teams, FaceTime)
- File sharing (Dropbox, OneDrive)
- Remote access tools
Privacy Settings
Control what apps can access and what data is shared.
Location Services
- System Settings > Privacy & Security > Location Services
- Toggle Location Services ON/OFF
- Per-app controls:
- While Using the App
- Ask Next Time
- Deny
Recommendations:
- Keep ON for Find My Mac (essential for lost device recovery)
- Limit to apps that truly need it (Maps, Weather, Find My)
- Disable for most social media and shopping apps
App Permissions
macOS prompts before apps access:
- Camera
- Microphone
- Contacts
- Calendars
- Reminders
- Photos
- Files and Folders
- Screen Recording
Review granted permissions:
- System Settings > Privacy & Security
- Scroll through categories
- Review which apps have access
- Uncheck apps that don’t need access
Review app permissions quarterly. Apps you installed months ago may have access you no longer want to grant. Remove access for apps you don’t use.
Analytics and Advertising
Disable optional data sharing:
-
System Settings > Privacy & Security > Analytics & Improvements
-
Uncheck all to stop sharing diagnostic data
-
System Settings > Privacy & Security > Apple Advertising
-
Turn off Personalized Ads
These don’t affect functionality—just reduce data collection.
Gatekeeper and App Security
Gatekeeper controls which apps can run on your Mac.
Understanding Gatekeeper Levels
System Settings > Privacy & Security > Security
| Setting | What It Allows |
|---|---|
| App Store | Only apps from Mac App Store |
| App Store and identified developers | App Store + Apple-verified developers (recommended) |
| Anywhere | All apps (hidden by default, requires Terminal) |
Recommended: “App Store and identified developers”
Bypassing Gatekeeper (Temporarily)
Sometimes you need to run an unverified app:
- Download the app
- Right-click (don’t double-click)
- Select Open
- Click Open in security dialog
- App runs, future launches work normally
Don’t make a habit of this. Only for apps from trusted sources.
Checking App Authenticity
Verify an app before installing:
-
Right-click app > Get Info
-
Look for “Kind” field:
- “Application (Universal)” or “Application (Intel)” = Native Mac app
- Suspicious if it claims to be something else
-
Check developer signature:
codesign -dv --verbose=4 /Applications/AppName.app- Look for “Authority” line showing valid certificate
Password Management
Strong, unique passwords are your first defense.
iCloud Keychain
Apple’s built-in password manager:
Features:
- Auto-generates strong passwords
- Auto-fills in Safari and apps
- Syncs across Apple devices
- Alerts on compromised passwords
- Stores credit cards (securely)
Enable:
- System Settings > Apple ID > iCloud
- Toggle Passwords and Keychain
- On iPhone/iPad: Settings > Apple ID > iCloud > Keychain
Accessing Saved Passwords
- System Settings > Passwords
- Authenticate with Touch ID, Face ID, or password
- Search, edit, or delete saved passwords
- Security Recommendations — check for weak or compromised passwords
Third-Party Password Managers
Consider if you need:
- Cross-platform (Windows, Android)
- Family sharing
- Advanced features (secure notes, document storage)
Popular options: 1Password, Bitwarden, LastPass — see the full 2026 comparison for current pricing and which one to actually pick.
Setting a Strong Mac Password
- System Settings > Users & Groups
- Click i next to your user
- Click Change Password
- Use strong password:
- 12+ characters
- Mix of uppercase, lowercase, numbers, symbols
- Not used anywhere else
Consider using a passphrase (4-5 random words) for memorability and strength.
Physical Security
Find My Mac
Enable before you need it:
- System Settings > Apple ID > iCloud
- Toggle Find My Mac
- Ensure Location Services enabled
If Mac is lost:
- Visit icloud.com/find
- Sign in with Apple ID
- See Mac location on map
- Options: Play sound, Lock, Erase
Screen Lock
Require password immediately:
-
System Settings > Lock Screen
-
Require password after screen saver begins:
- For laptops: Immediately or 5 seconds
- For desktops: 1 minute or 5 minutes
-
Enable “Wake from sleep requires password”
Automatic Lock
Set screensaver or display off:
- System Settings > Lock Screen
- Start screen saver after: — set time
- Turn display off on battery when inactive: — set time
- Turn display off on power adapter when inactive: — set time
Malware Protection
macOS has built-in protections, but awareness matters.
XProtect (Built-in)
- Runs automatically
- Updates silently in background
- Checks downloaded files against known malware
- No user configuration needed
Malwarebytes (Optional)
For additional scanning:
- Download from Malwarebytes
- Free version sufficient for most users
- Run periodic scans
- Remove if found
Note: Don’t run multiple real-time antivirus simultaneously—causes conflicts.
Avoiding Malware
| Do This | Avoid This |
|---|---|
| Download from Mac App Store | Pirated software |
| Use official developer websites | Download sites (Softonic, etc.) |
| Verify app signatures | Unidentified developer warnings |
| Keep macOS updated | Outdated OS versions |
| Read reviews before installing | Apps with no reputation |
Signs of Malware
- Mac runs unusually slow
- Unexpected pop-ups or ads
- Browser homepage/search changed
- Unknown apps in Activity Monitor
- Fans running constantly (crypto miners)
If suspected:
- Disconnect from internet
- Run Malwarebytes scan
- Check Activity Monitor for unknown processes
- Remove suspicious apps
- Change all passwords from clean device
Backup Strategy
Security includes recovering from problems.
Time Machine
macOS built-in backup:
Setup:
- Connect external drive (USB, Thunderbolt, or network)
- System may auto-prompt to use for Time Machine
- Or: System Settings > General > Time Machine
- Click Select Backup Disk
What it backs up:
- Everything except:
- System files (recoverable via reinstall)
- Trash
- Some cache files
Recovery:
- System Settings > General > Time Machine
- Click Enter Time Machine
- Browse timeline
- Select files to restore
3-2-1 Backup Rule
| Rule | Meaning |
|---|---|
| 3 | Keep 3 copies of important data |
| 2 | On 2 different media types |
| 1 | 1 copy offsite |
Example setup:
- Original on Mac
- Time Machine to external drive
- iCloud or cloud backup (Backblaze, etc.)
Advanced: Lockdown Mode
For high-risk users (journalists, activists, executives):
What it blocks:
- Most message attachments (images, links preview disabled)
- Some web technologies (just-in-time compilation)
- Incoming FaceTime calls from unknown contacts
- Shared albums in Photos
- Wired connections with accessories when locked
Enable:
- System Settings > Privacy & Security > Lockdown Mode
- Click Turn On
- Confirm you understand restrictions
Lockdown Mode significantly reduces functionality. Most users don’t need it. Only enable if you’re specifically targeted by sophisticated attackers.
Quick Security Checklist
Essential (Do These Now)
- Enable FileVault (laptops especially)
- Enable Firewall
- Enable Find My Mac
- Set strong password
- Enable iCloud Keychain
- Set screen lock to immediate
- Review app permissions
- Set up Time Machine backup
Recommended (Do Soon)
- Audit location services
- Turn off analytics sharing
- Review Gatekeeper exceptions
- Check Security Recommendations (Passwords settings)
- Document recovery key (FileVault)
- Test Time Machine restore
Advanced (For High Security)
- Enable stealth mode in Firewall
- Use standard (non-admin) account for daily use
- Disable automatic login
- Consider VPN for public Wi-Fi
- Review sharing settings (disable unused)
Related Articles
Complete your Mac mastery:
- Hidden macOS Settings — Terminal tweaks and advanced settings
- Storage & Memory Management — Keep your Mac running fast
- Terminal Basics — Command-line security tools
Related Articles
Deepen your understanding with these curated continuations.
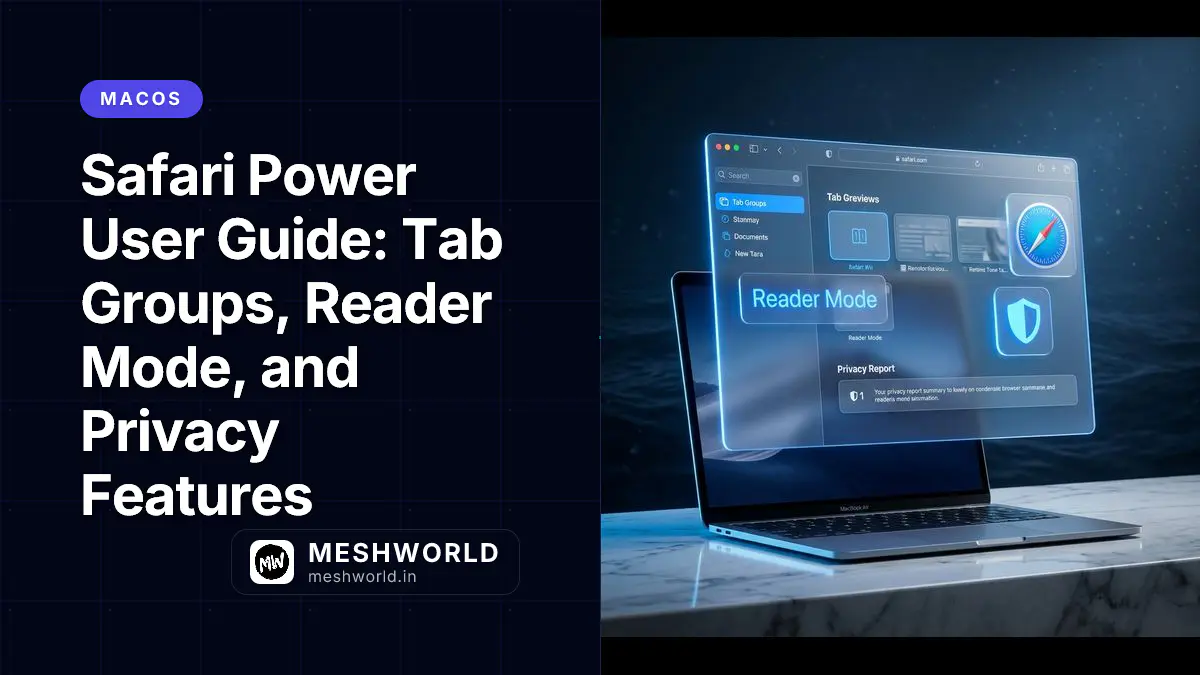
Safari Power User Guide: Tab Groups, Reader Mode, and Privacy Features
Master Safari with tab groups for organized research, Reader Mode for distraction-free reading, privacy reports, and extensions that boost productivity.

Master Mission Control: Virtual Desktops and Space Management on macOS
Expand your workspace with virtual desktops. Learn to create Spaces, assign apps to specific desktops, and navigate between contexts with gestures and shortcuts.

Voice Control & Dictation: Hands-Free macOS Productivity
Control your Mac with your voice. Master dictation for fast text input and Voice Control for hands-free navigation and commands.